
For peak efficiency and power, tuning your own specific setup is ideal. MAP based systems are more likely to need fuel tuning for changes in airflow vs a MAF based system. OBD1 MAF was replaced with MAP under warranty through a TSB, so only the 94-95 3.4 DOHC has a MAF worth keeping. We don’t support that setup for tuning but you can follow this article using the appropriate files for your computer.
Chip and Datalogging Hardware
Moates.net has been the go to for decades, and since it came back, has once again been option #1. The only setup we do long distance tuning with is the 1227727/1227730 variant, which will use a Burn2 Chip Programmer, G1 adapter, and your choice of 27SF512 chip. This is a 512k chip, where as the code we use is 256k. If you want to use the 2-Timer, it will allow for 2 tunes, swappable via grounding a wire.
To datalog, you will need an ALDL cable, like the ALDU1 and CABL1 from Moates. You will also find a real time emulator setup, but that is only really useful with 2 people, or on a dyno. Not for long distance tuning or solo street tuning.
There are other options available, and we are not associated with Moates.net in any way, short of using their products for over 20 years.
Tuning Software
Tunerpro.net is much like Moates, in that we have been using their software for 2 decades. Its free to use, or you can pay $47 to get rid of the splash screen/10 second timer. They just released Version 6 recently, as I was going to do a write up here for V5. Its been a very long time since a new version came out. I cannot add specifics currently but will hash over the basics
https://www.tunerpro.net/downloads.html - The software itself. Get the RT Version.
https://www.tunerpro.net/definitions.html - You will need an XDF file (definition file) to read/edit the chip (.bin) file. This is going to depend on the codemask of your chip. Using a hex editor in tunerpro, look at address $0008 to find the code mask value. Pushrod 1987-1989 use $6D, 1990 uses $88, and 1991-9194 3.1 MPFI use $A1. Code mask $DF is used for 1991-1993 3.4 DOHC LQ1, and 1993 3.1 W Body using the 4T60-E transmission. 1994-1995 3.4 DOHC use $2E. You will also want the matching ADX file for datalogging.
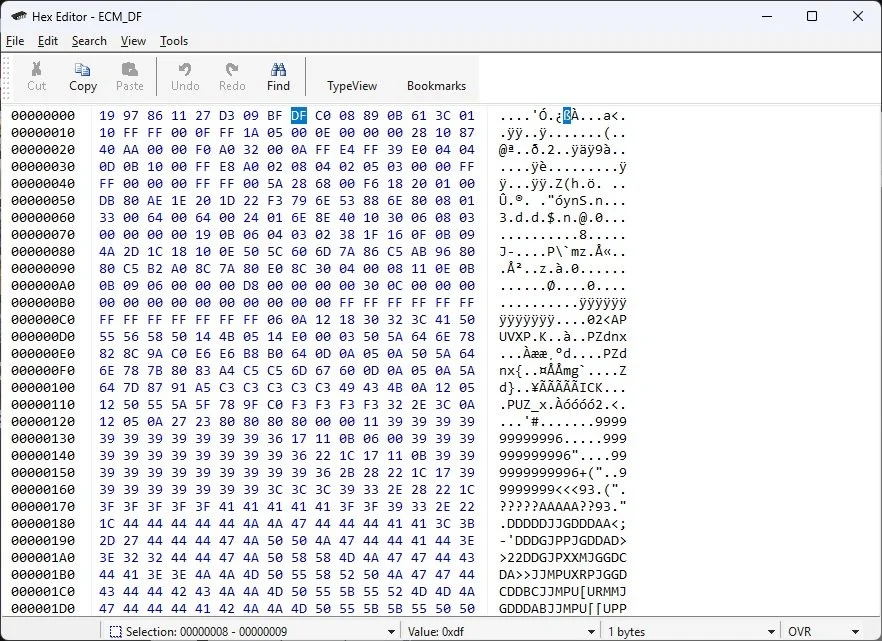
Code mask location in the hex editor.
Getting Setup
We will start by installing the tunerpro software. It currently gives a pop up warning in windows as being an unrecognized app. Click on more info, and run anyway. It doesn’t create an icon so I added it to the taskbar myself after installation.
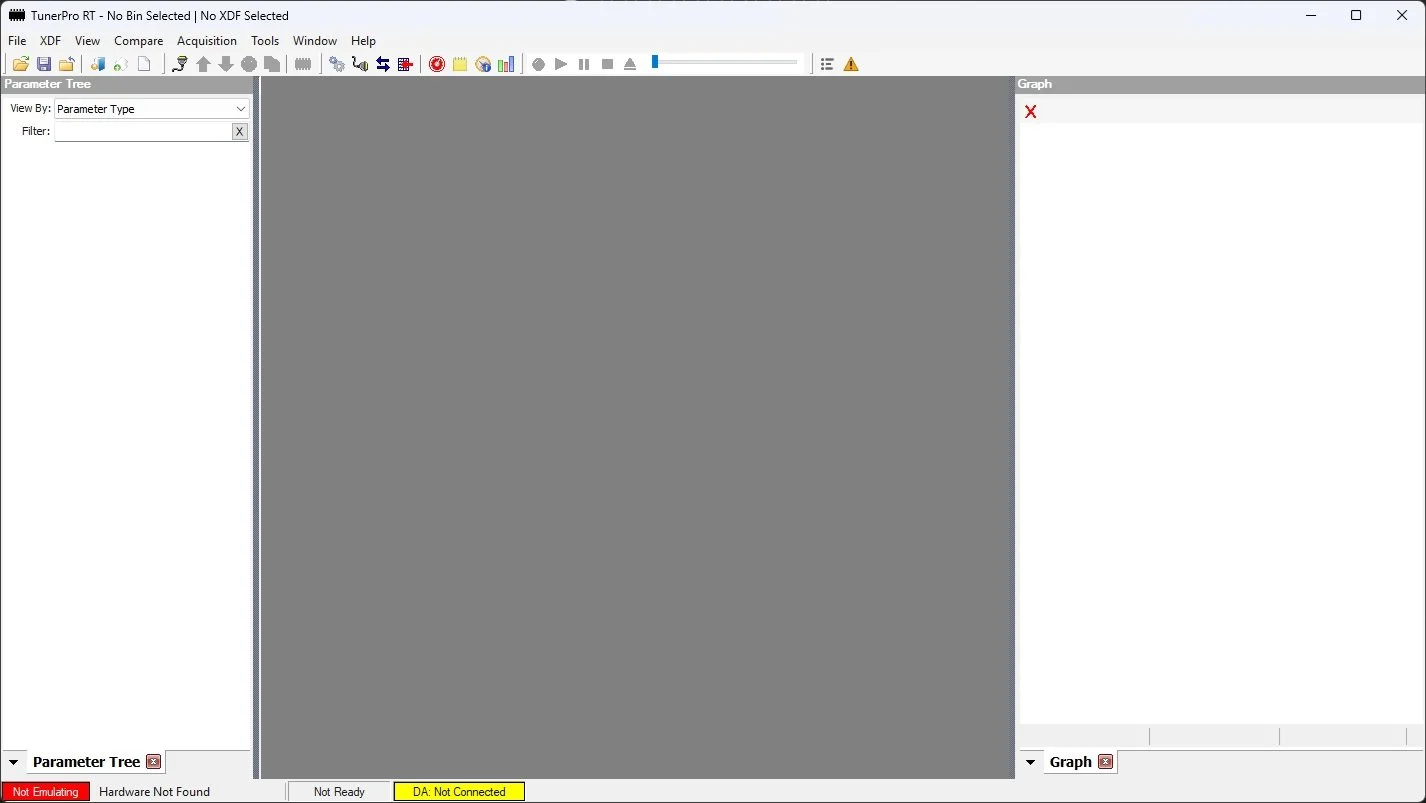
Tuner Pro V6 when you first load it up.
For long distance tuning, a base tune will be sent so we will start from there. You can open the .bin file in TunerPro under the File tab, and the XDF file under the XDF tab. Once both are loaded, you can go to the 3D tables and open up your spark table, or any other tables. Scalers will be for single entry items such as fan turn on times and limiters. Flags are simple items for yes/no items. None of this needs to be understood for long distance tuning, but its there if you want to learn.
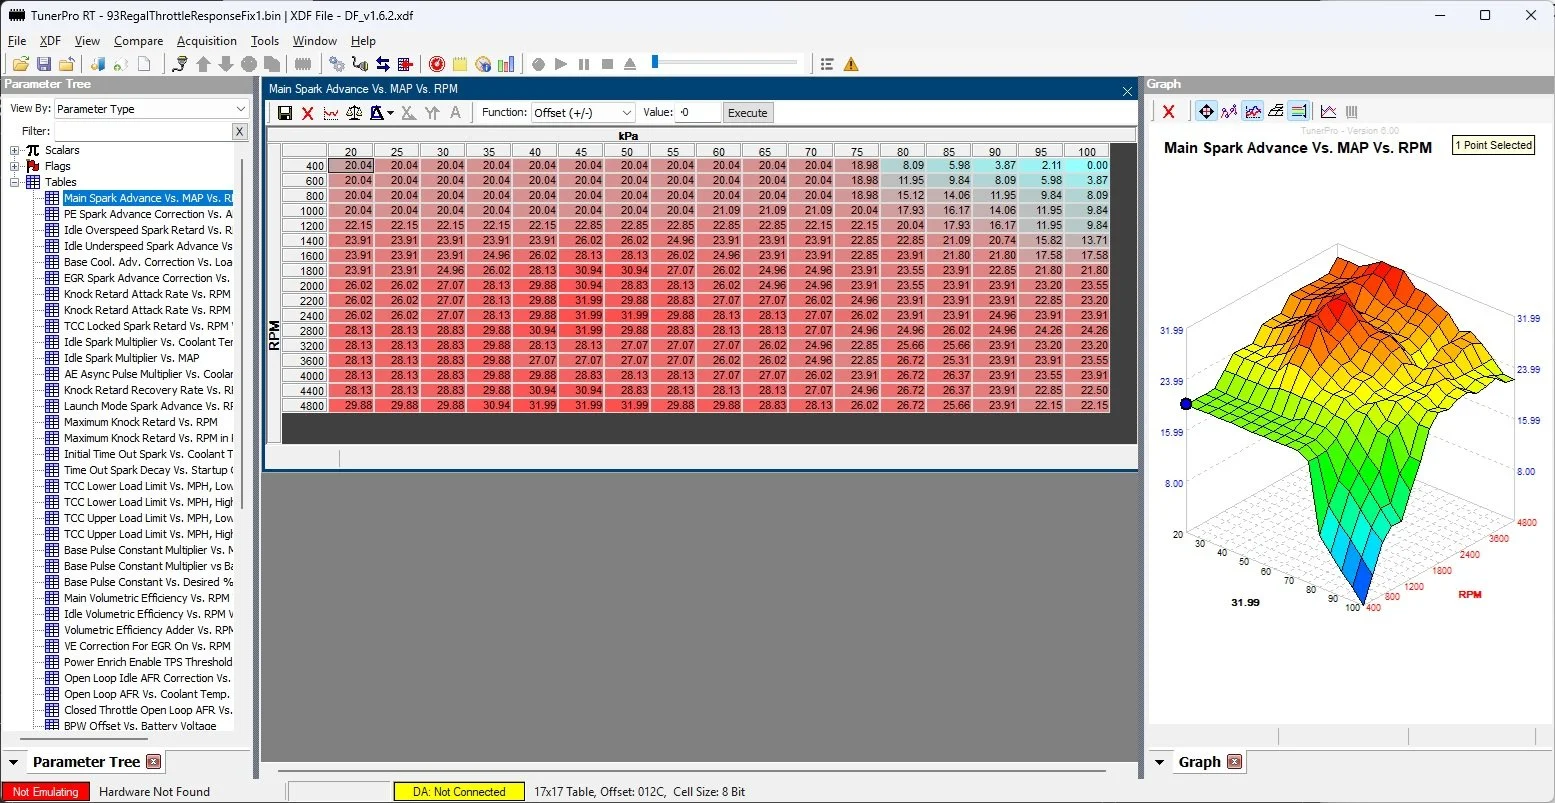
Example of a 3.1 MPFI spark table in TunerPro V6
Next we will get setup for datalogging. Under the Acquisition tab, click on Load Definition File. This is the .ADX file found on the tunerpro website. After you have this loaded, go to the Tools tab and click on Preferences. Then choose the Data Acq./Emulation tab.
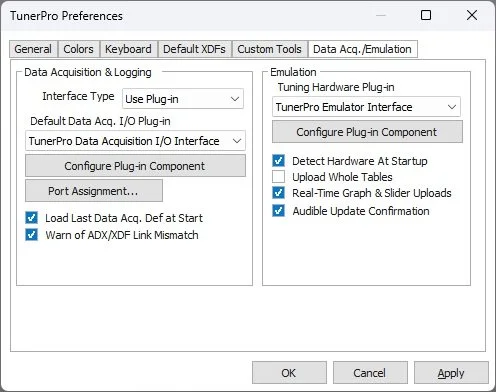
Preferences Tab
Next, click on the Configure Plug-in Component box and choose the appropriate COM port your cable is using. You can do trial and error for multiple listings, or use Windows search for Device Manager. Then go to Ports to see which is associated with your cable.
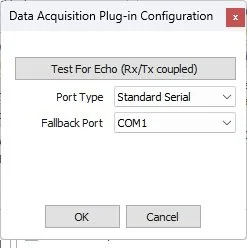
Serial Port
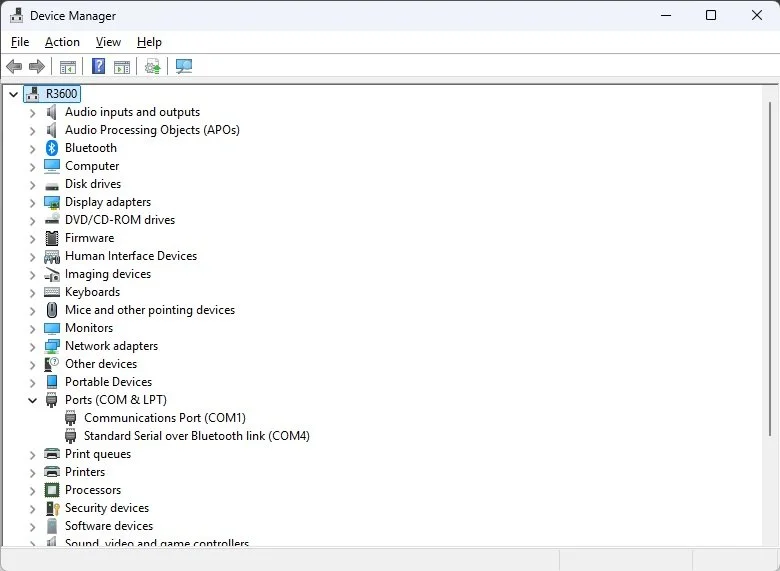
Device Manager. No cable is connected in this example but there are 2 other COM port devices to see where to look.
If you don’t see your cable in the Ports section, check to see if any devices are marked with a yield sign. You might need to install drivers for your cable to work. Once you have the COM port verified and entered, you can connect the cable to the ALDL port and your laptop, and turn the ignition key on. Under the Acquisition Tab, click Start/Stop Data Scan (or use CTRL-F4) to start the connection. You will see the yellow bar at the bottom turn blue.
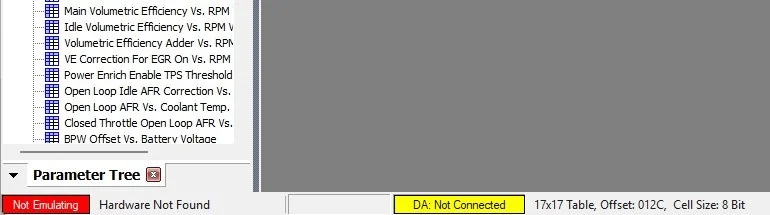
If everything is working, the DA bar will change from yellow to blue.

Datalogging options at the top of the page are useful for viewing either a chart, graphs, or gauges. Next to those options is the record button (grey in this pic, changes once connected) and a play button for playback afterwards. When you are done recording a datalog, a window will pop up to save a file. This is very important for long distance tuning.
This is the basic walkthrough for loading up a file for tuning, as well as for scanning and datalogging. OBD 1.5 tuning is very similar to everything above, with the addition of another program called Tuner CATS. We use TunerPro for editing and datalogging, and Tuner CATS for flashing. We only recently started supporting OBD1.5, vs 25+ years experience with OBD1. With that said, lets get into writing the chip using the Burn2.
Plug in the Burn2, then go to Tools, and click on Initialize Tuning Hardware. The laptop will beep and you will see your programmer listed next to the red bar. Now go to Tools > Hardware Utilities > Moates PROM I/O.
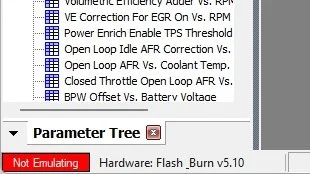
Programmer Connected
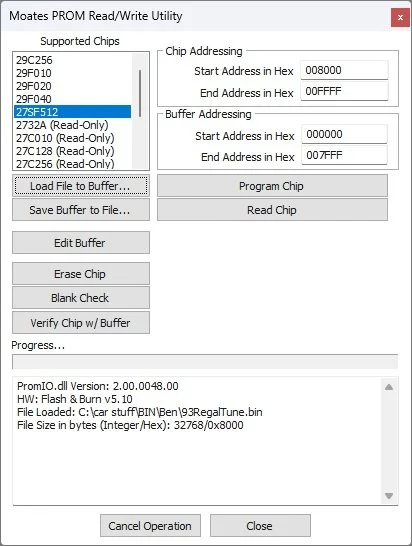
Moates PROM I/O Panel
Once the PROM IO window pops up, select the 27SF512 chip, and then Load File to Buffer. Once you have loaded the .bin file, the Chip Addressing and Buffer Addressing will automatically update to the above. I like to do a blank check on the chip to make sure its ready. If not, Erase Chip and check again. Once blank, Program Chip and Verify chip w/ Buffer. Now you are ready to put the chip into the adapter. If you are reading this before ordering any parts, congrats, because you might want to get a ZIF socket for the G1 adapter. I have an old IDE header pin setup cut for 28 pins. Maybe something similar can still be found but it makes a great way to flash chips already in the adapter, or to read stock chips still soldered into the memcal.
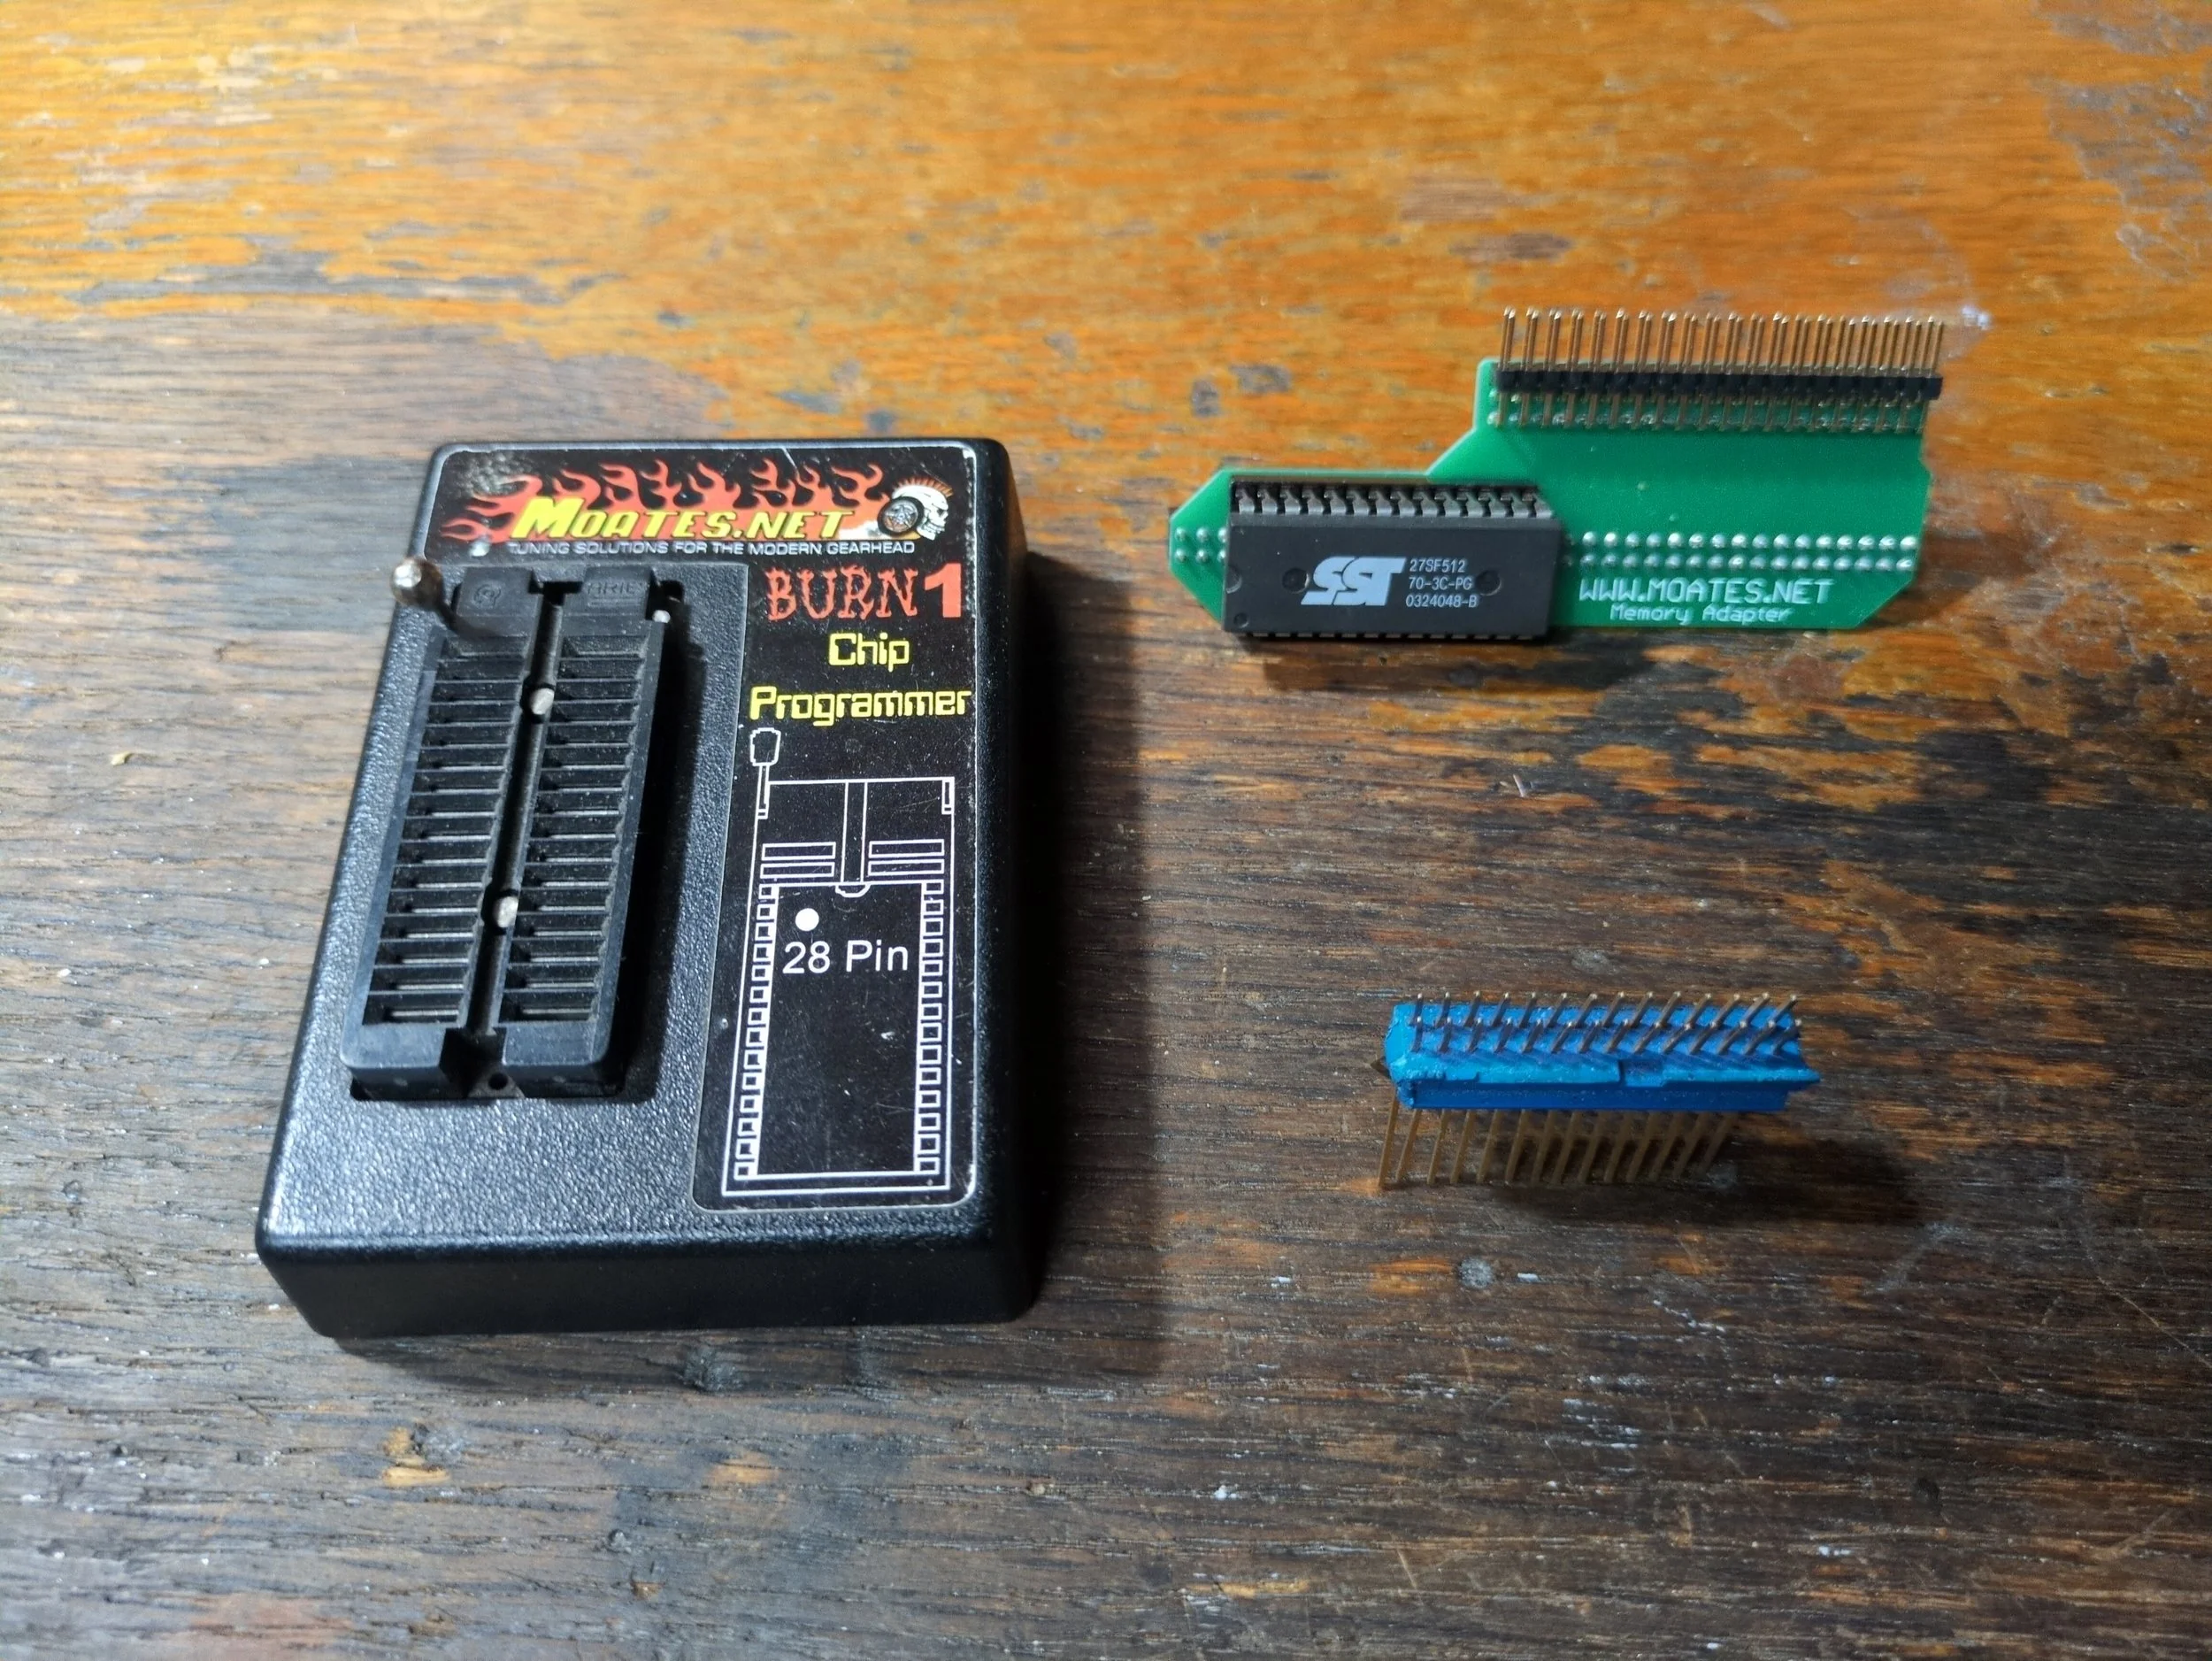
Original Burn1, with the IDE Header Pins to adapter for memcals, and the G1 adapter with original 27SF512 chip.